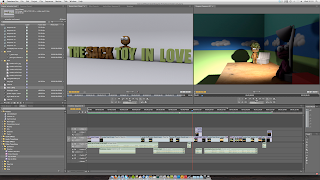
Editing in Premiere Pro
0 Comments
»
Once all the parts of the animation were rendered I was ready to edit them together in Premiere Pro. It was a nice feeling going back to a program I was very familiar with after the frustrating struggles with 3DS Max. I started by importing all the rendered scenes, both the .mov’s and the bitmap still’s that I had rendered. I trimmed the clips to required lengths and dropped them into the timeline.
After I had my moving clips where I roughly wanted to be I then placed the bitmaps on the timeline. I used bitmaps for when the animation was still because there is no point rendering still motion. By using bitmaps I was using a lossless image type so the stills would not be noticed. I then went back to max and created an intro still which I thought to be much more effective than a simple photoshop graphic intro.
I then created a thought cloud in photoshop to show my character having an idea. I can create this directly from Premiere Pro by selecting File > New > Photoshop file. This opens up photoshop with a canvas the perfect size for the video. This also allows me to edit the file and the changes are made in premiere when the file is saved which is a good example or Adobe premiere pro & photoshop integration.
Finally I gathered sounds for my animation. This was an area that I had neglected prior to this point. I searched through a huge range of websites in trying to find suitable sounds. This was very frustrating at such a late stage because the perfect sound was never to be found. If I had allowed more time I would have liked to record my own sounds. I set keyframes in the effects control window for the sound and lowered the volume of keyframes to make the sounds transition.
I then exported the video. I exported using the H.264 format which has increasingly become the standard for web video because of its very good compromise between quality and file size. I set the target bitrate to 15 which would again give a high quality video and reasonable file size.


